


Modify airpods settings (1st and 2nd generations) – Apple assistance (FR), 5 adjustment options for your AirPods Pro | Nextpit
![]()
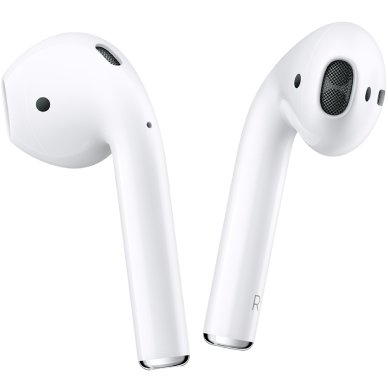
The 5 adjustment options for your AirPods Pro
You can change the action made when you touch your airpods twice.
Modify airpods settings (1st and 2nd generations)
On the iPhone, iPad or Mac, you can change the airpods settings (1st and 2nd generations). For example, you can customize the action carried out when you press your airpods twice, deactivate automatic ears detection, and more.
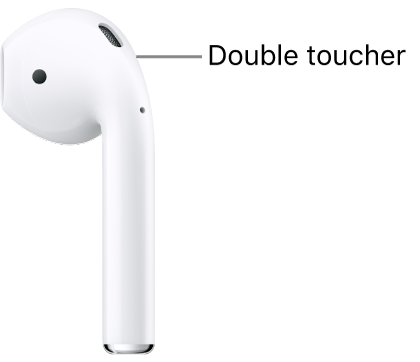
Modify the action associated with double touch
You can change the action made when you touch your airpods twice.
- Wear your airpods and check that they are connected to your device.
- Perform one of the following operations:
- On the iPhone or iPad: Access adjustments
 , then touch the name of your airpods at the top of the screen.
 - On the Mac: Choose the Apple menu

Define the location of the microphone on airpods
- Wear your airpods and check that they are connected to your device.
- Perform one of the following operations:
- On the iPhone or iPad: Access adjustments , then touch the name of your airpods at the top of the screen.
- On the Mac: Choose the Apple menu
- Airpods auto change: One of your airpods acts as a microphone. If you use only one, it acts as a microphone.
- Always on the left or always right: The airpod you choose becomes the microphone, even if you remove it from your ear or place it in the case.
Disable automatic ears detection
Your airpods automatically stop playing audio content when you remove them, and take it back when you put them back. You can change this setting.
- Wear your airpods and check that they are connected to your device.
- Perform one of the following operations:
- On the iPhone or iPad: Access adjustments , Tap the name of your airpods at the top of the screen, then activate or deactivate “Automatic Ear Detection”.
- On the Mac: Choose the Apple menu
You can also change the volume of sound effects emitted by your AirPods. Consult the Regulate the volume of the sound effects of the AirPods.
This guide was written for iOS 17, iPados 17, Watchos 10, Tvos 17, MacOS Sonoma or subsequent versions.
Airpod adjustment
You are currently using a browser obsolete. Please update your browser to improve your experience.
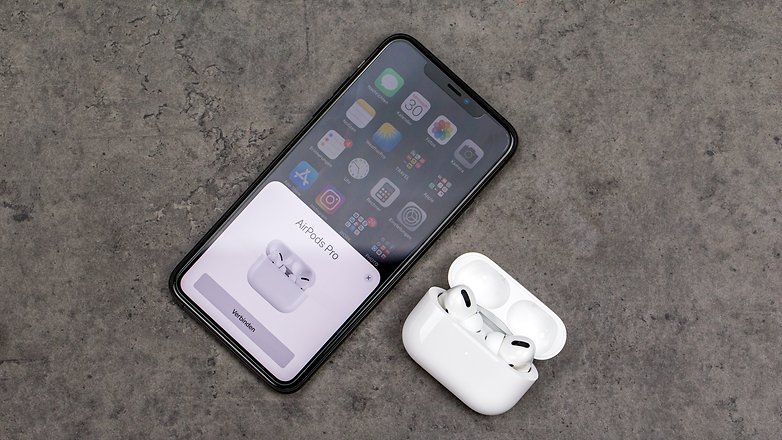
Through this practical article, discover everything you can do with your AirPods Pro headphones. Different options are presented in Apple video tutorial for those who like visual presentations. Also find written explanations written in the five points developed below.
Summary :
- Change the action when you tap twice on one of your airpods
- Establish the microphone option on the left, right or automatically
- Change the action by holding your finger on one of the AirPods Pro
- Activation or deactivation of automatic ears detection
- Rename your airpods
The most common use, which you should know perfectly if you have invested in pro AirPods, is as follows:
- Open the airpods housing, install the headphones in your ears.
- Go to settings> Activate bluetooth on your iOS or iPados device.
- Activate the button next to your airpods in the list of devices. Headphones are now ready to disseminate sound.
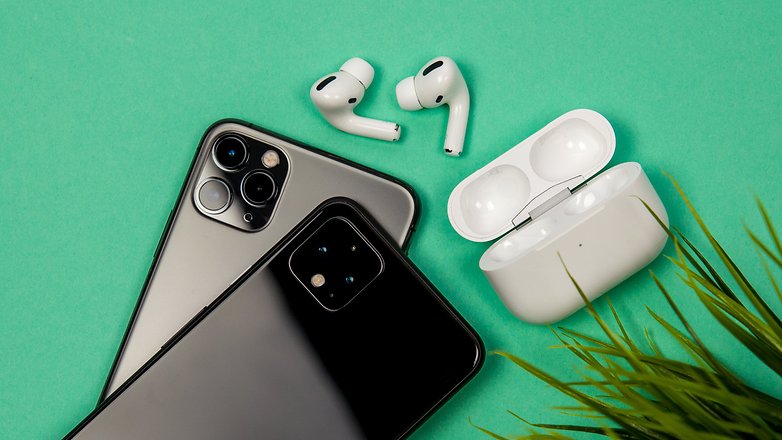
- Apple launches its AirPods Pro with active noise reduction
Here is the video tutorial produced by Apple to discover the different options for setting AirPods Pro:
Change the action when you tap twice on one of your airpods
Select the left or right airpod on the AirPods settings screen before selecting the action when you tap the chosen earpiece twice:
- Call on Siri to manage your audio content, modify the volume or perform any type of action compatible with Siri
- Start taking a break or stop reading your audio content
- Launch the next song
- Return to the previous song
Establish the microphone option on the left, right or automatically
Each earpiece, each airpod, has a microphone to be able to make telephone calls or call on Siri. By default, the microphone is automatic so that each of your airpods acts as a microphone. If you wear only one airpod, it will naturally serve as a microphone.
It is also possible to customize the microphone option on always left or always right. In this way the microphone will be configured on the listener on the left or on the right earphone. Even when you remove it from your ear or when it is installed in the case, the configured airpod will serve as a microphone.
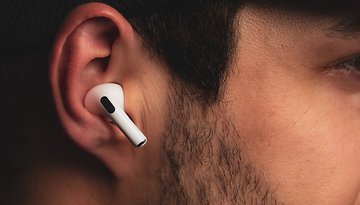
Change the action by holding your finger on one of the AirPods Pro
Airpods pro headphones have three noise control modes: transparency, active noise reduction and deactivation. By default, keeping your finger on the sensor placed on the stem of your Airpod Pro left or right, the headphones go from the active reduction of noise to transparency mode. In settings, it is easy to change one of the three noise control modes according to your needs. By keeping your finger on one of your Pro Airpods, here is how to change the noise control mode:
- Go to the AirPods Pro settings.
- Keep your finger on the airpods, touch the one left or the right, then check that the noise control option is selected.
- Choose the two or three noise control modes to use when you hold your finger on one of the Pro Airpods. If in the settings you have configured your two pro AirPods so that they can change noise control mode, the modifications you make to the settings with long support for an AirPod Pro also apply to the second AirPod Pro.
It is also possible to modify long support settings to use Siri with the AirPods Pro. On the screen of the settings of your pro AirPods, choose left or right, then select Siri. For example, you can use an airpod for Siri and the other to change noise control mode. Practical no ?
Activation or deactivation of automatic ears detection
Airpods detect by default if they are placed in your ears and your device diffuses sound there. As you may have noticed, the Airpods resume reading or pause it when you remove one of the headphones. Another possibility: they stop reading when you remove the two airpods.
When automatic ears detection is activated, without you carrying your airpods, the speakers of your device diffuse the sound. Conversely, if you deactivate automatic ears detection, these features are disabled and the sound is diffused by the AirPods, whether you wear them or not.
Rename your airpods
Finally, to rename your airpods, press the current name. Then enter the new name of your airpods and press finished.