


How to sign a PDF on iPhone / iPad – 3 steps, scan documents on your iPhone or iPad – Apple Assistance
![]()
Scan documents on your iPhone or iPad
Just create the desired signature and place it in the right place. You can adjust its size if you wish. Then when you are finished, click on the “Save” button. There you have just signed your PDF !
How to sign a PDF on iPhone / iPad
In order to secure a document before sharing it online or signing an agreement on an electronic medium by means of a digital signature, the PDF format is widely used. This allows users to secure data, to virtually sign any agreement and to share the agreement while attesting to its originality. In this article I will present to you pdfementation for iOS – the best free application to sign PDF on iPhone / iPad.

How to sign a PDF on iPhone
With pdfelement for iOS, any PDF document can be signed in just a few simple steps with an iPhone X/8/7/6s/6. By following the following steps, you can electronically sign any document.
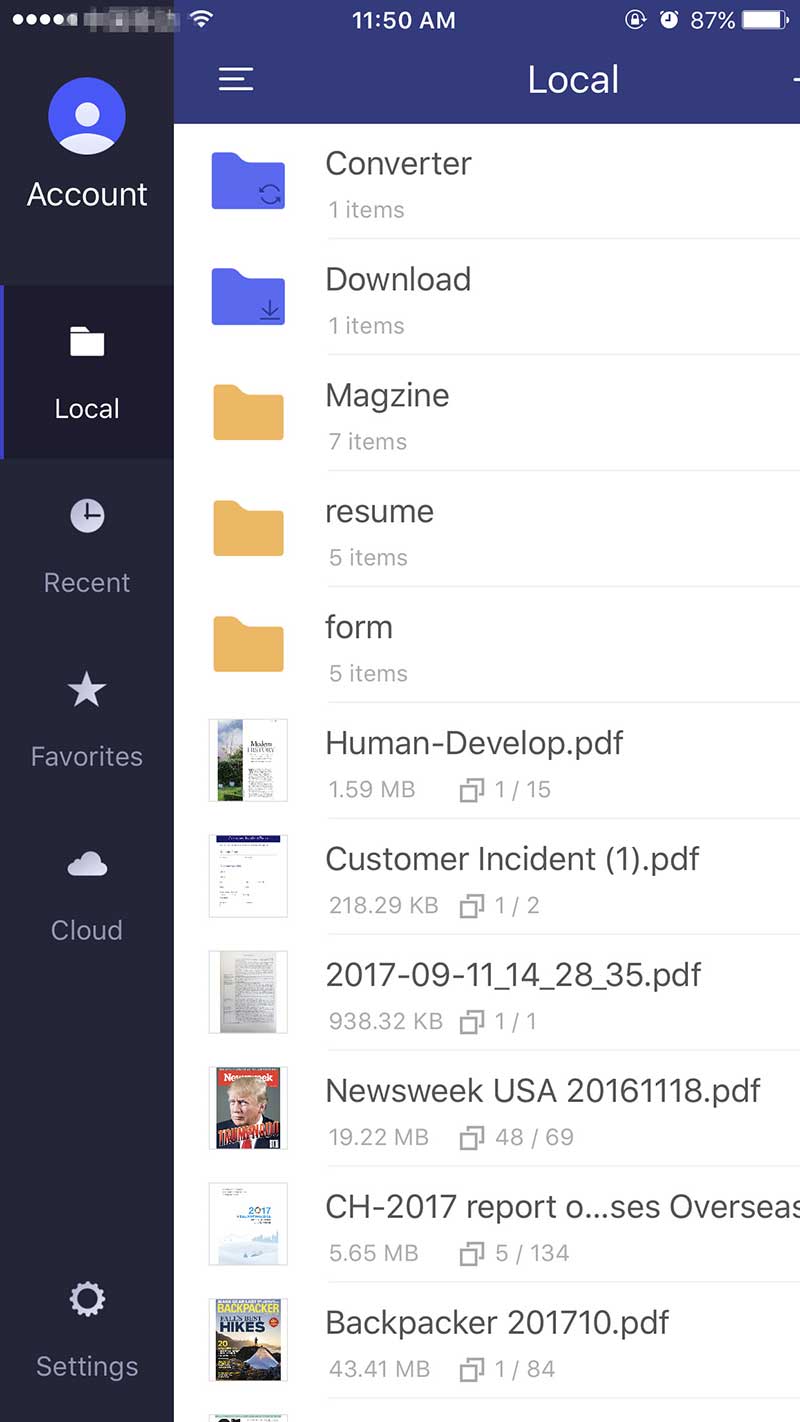
Step 1. Import a PDF file
Launch pdfelement for iOS on your iPhone. Choose the PDF file you want to sign and press it.
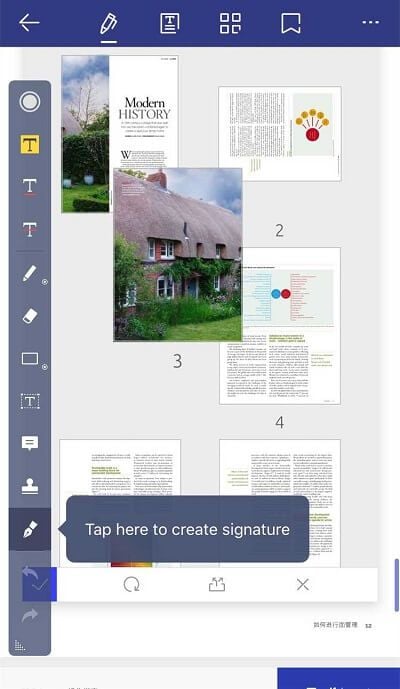
2nd step. Draw your signature
Once the PDF desired is open, click on the “pen” icon via the upper menu. Then press your document to create your signature.
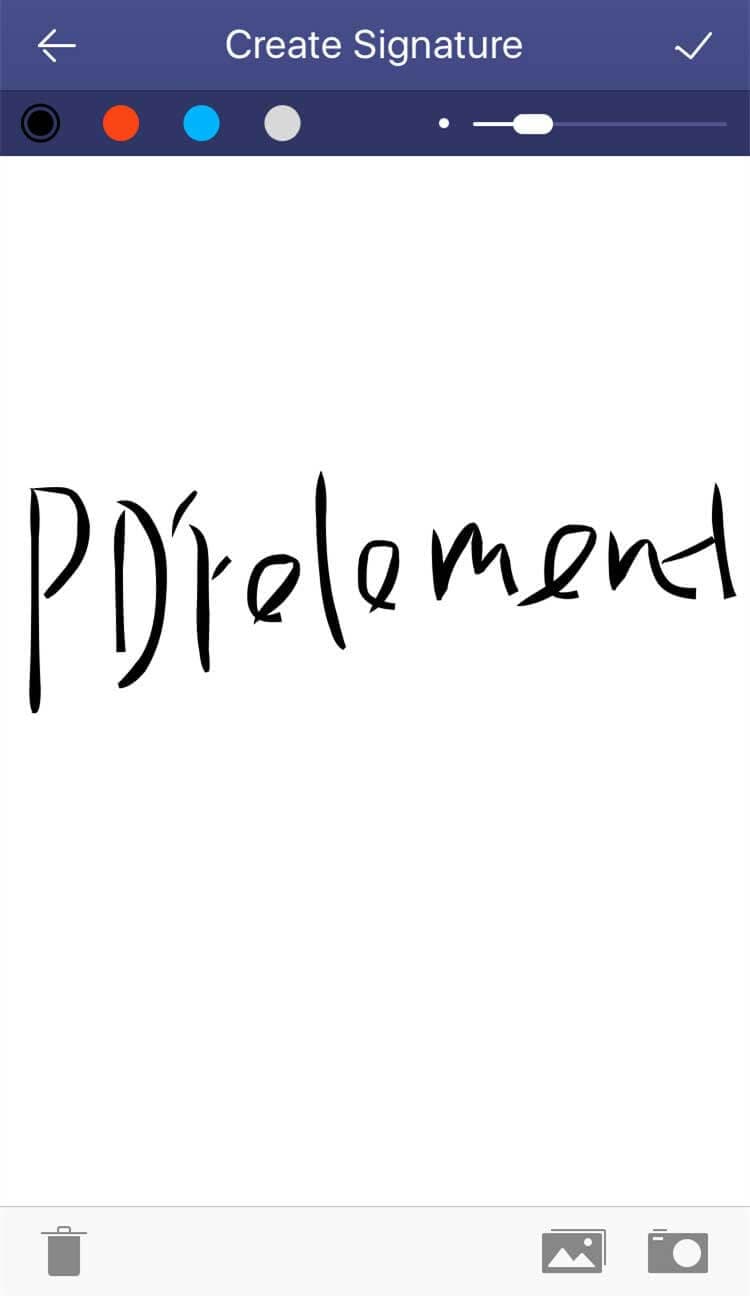
Step 3. Save the PDF file
Just create the desired signature and place it in the right place. You can adjust its size if you wish. Then when you are finished, click on the “Save” button. There you have just signed your PDF !
To choose pdfelement to sign a pdf on iPhone/iPad
Pdfément for iOS seems to be by far the best application to sing your PDFs, you can get it from the App Store for only $ 4.99 without subscription. In addition, it also offers different features that are not available on other applications, for example, free tutorials that explain to you how to sign PDF documents. It also allows you to convert almost any file to PDF format and modify them before signing a document.

The main features of pdfelement for iOS 11/10/9/8 are as follows:
- You can protect your files with digital signatures, encryption or safety passwords.
- The application can convert documents from Word, PPT, RTF and Images formats in PDF and vice versa format following a few simple steps.
- Easily edit the text of your PDF documents by changing the color, size and fonts.
- Scanning any image in a PDF file and then convert it to the desired format.
- Annotation tools: you can easily highlight, underline, block the text of your documents.
- Pdfelement also allows you to organize your files in a well -ordered manner.
Scan documents on your iPhone or iPad
With the Notes app, you can scan documents and add signatures to your iPhone or iPad.
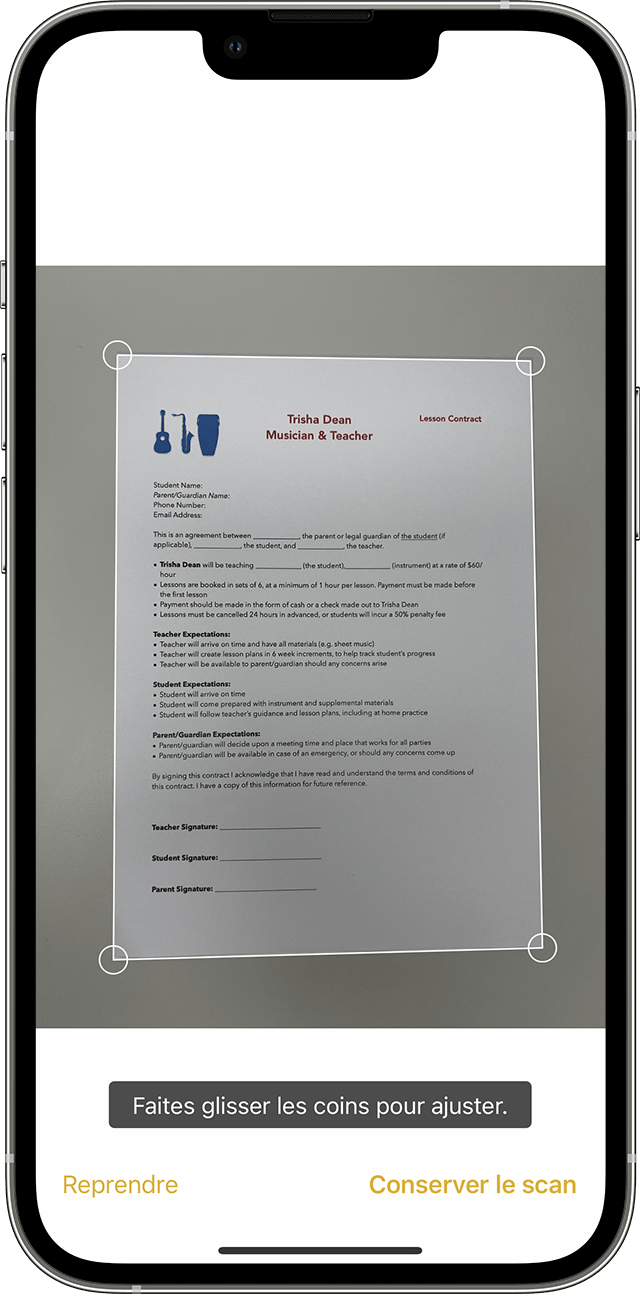
Scan a document
- Open notes and select a note or create a.
- Tap the camera button, then touch scan documents .
- Place your document in front of the camera.
- If your device is in auto mode, your document is scanned automatically. If you need to capture a scan manually, touch the shutter button or press one of the volume buttons. Slide the corners to adjust the scan to the size of the page, then touch keep the scan.
- Touch Save or add additional scans to the document.

Sign a document
- Open notes, then touch the document in the note.
- Touch the Share button, then annotation .
- Tap the Add, then signature button and add a saved signature or create one. You can then adjust the size of the signature zone and place it wherever you wish on the document.
- Touch.
To manually sign your document, follow steps 1 and 2, then select a tool to use and sign the document with your finger or an Apple Pencil with a compatible iPad.
Sign a document on iPhone and iPad: the right method
No need to export or print documents that you need to sign: you can do it directly on your iPhone thanks to an annotation tool integrated into iOS which allows you to affix your handwritten signature.
If you use a mobile device – phone or tablet – you are probably using it to consult your emails. And you have undoubtedly already received messages containing attachments to the documents to be signed in. Of course, you can wait to be at home or at the office to print, sign them and return them. But certain administrative procedures require a rapid response and, above all, the paper stage is today archaic. There are indeed several simple means to directly sign a document on the screen (see our practical sheets Sign PDF documents on Mac with preview and fill and sign a free PDF on computer and mobile to find out more).
But on iPhone and iPad, there is even simpler ! In fact, iOS, Apple’s mobile operating system integrates as standard an annotation tool thanks to which you can add a handwritten signature to a document before returning it or sharing it. And to affix this signature, you don’t need your finger ! The signature is then saved in the iOS tool so that you can reuse it when you wish on documents. Practical, no ?
- If you have received a document to sign by email, open the application Email, then open the message received in which the document to sign. Then press the attachment To load it and display it on the screen.
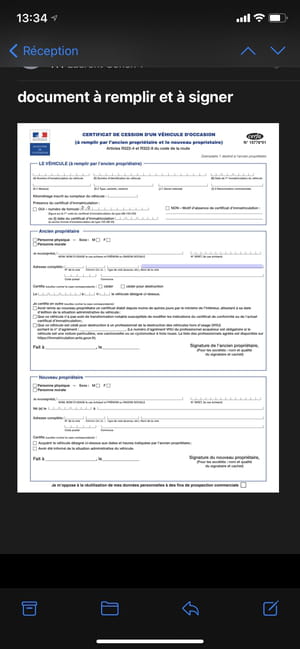
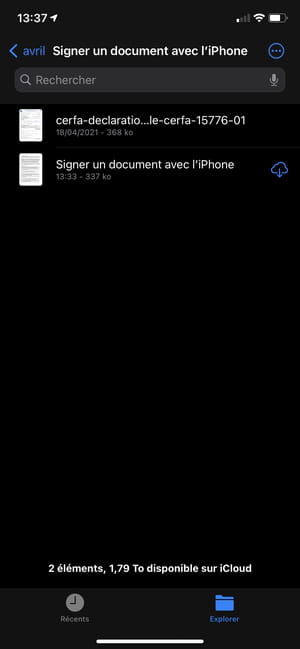
- If you have to sign a back -up document in files, the iOS document manager, launch the application Files And open the document to fill out.
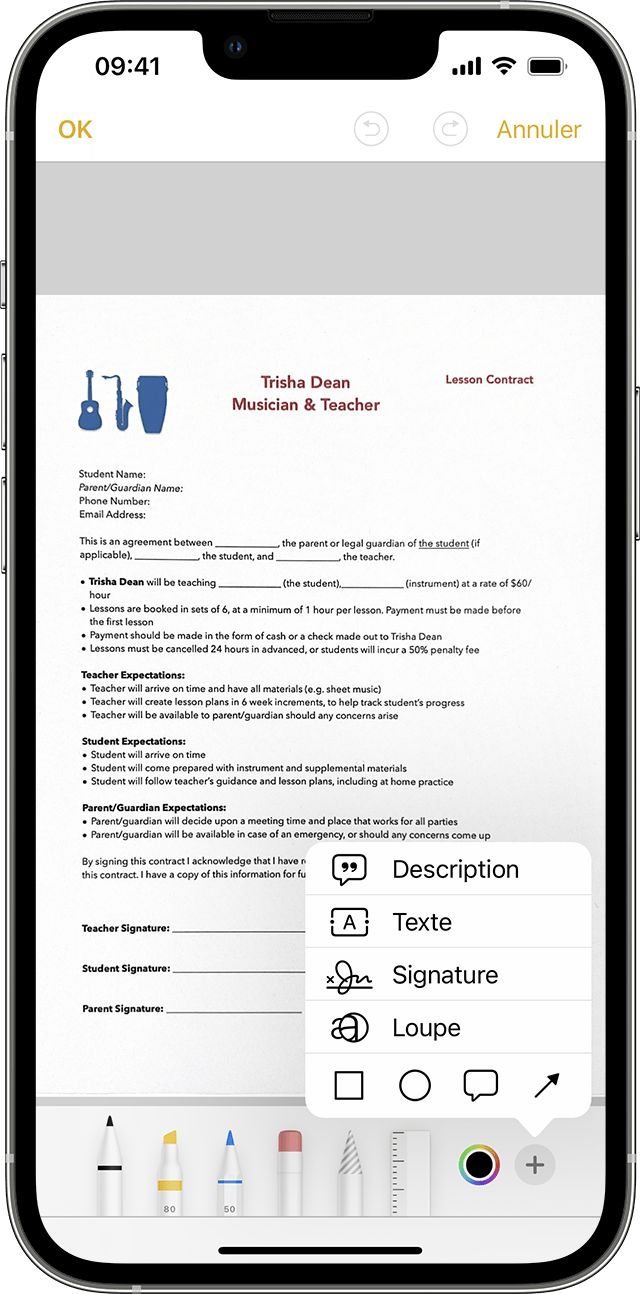
- Then press the top right on The icon representing the tip of a pencil To annotate the document.
- The document then opens in the annotation tool. By default, the pencil tool is selected. Therefore, if one of your fingers touches the document, you write on it. To avoid this, always press with two fingers on the screen to handle the document and move to the areas to be filled, especially after having zoomed out on it.
- If you write on the document by mistake, press The arrow directed to the left displayed at the top right of the screen. The right arrow serves to repeat the operation.
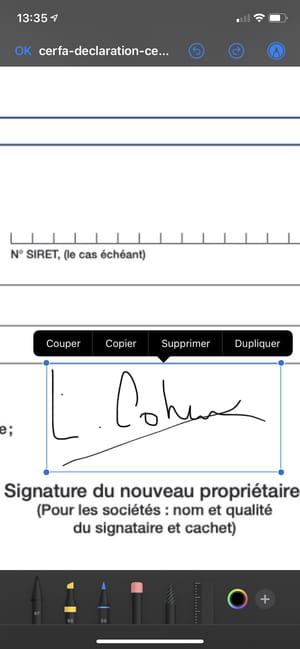
- To sign your document, press the button + at the bottom right of the screen and select Signature.

- In the displayed screen, affix your signature using your finger. If the signature is right, press the button OK To validate it, otherwise press To erase and start again.

- Once validated, the signature is displayed directly in the document. Tap it on it to select it, change its size by pressing then by moving one from the four corners of the box, and move the signature to the desired area.
- When your document is complete, press the button OK on the top corner left. If you have published the document from the file manager, it is automatically saved with your modifications.
- If the document has been published from email, a menu is displayed in overprint. Choose Reply to all To return the document in response to all recipients in copying the original message, or select New message To include it as an attachment of a new email.